Backed by Data · 2026
Are DIY Mini Split Systems Any Good? DIY vs Pro by the Numbers
Real cost, efficiency, and reliability comparisons between DIY and contractor-installed mini splits — and how to pick a brand whose quality you can rely on.
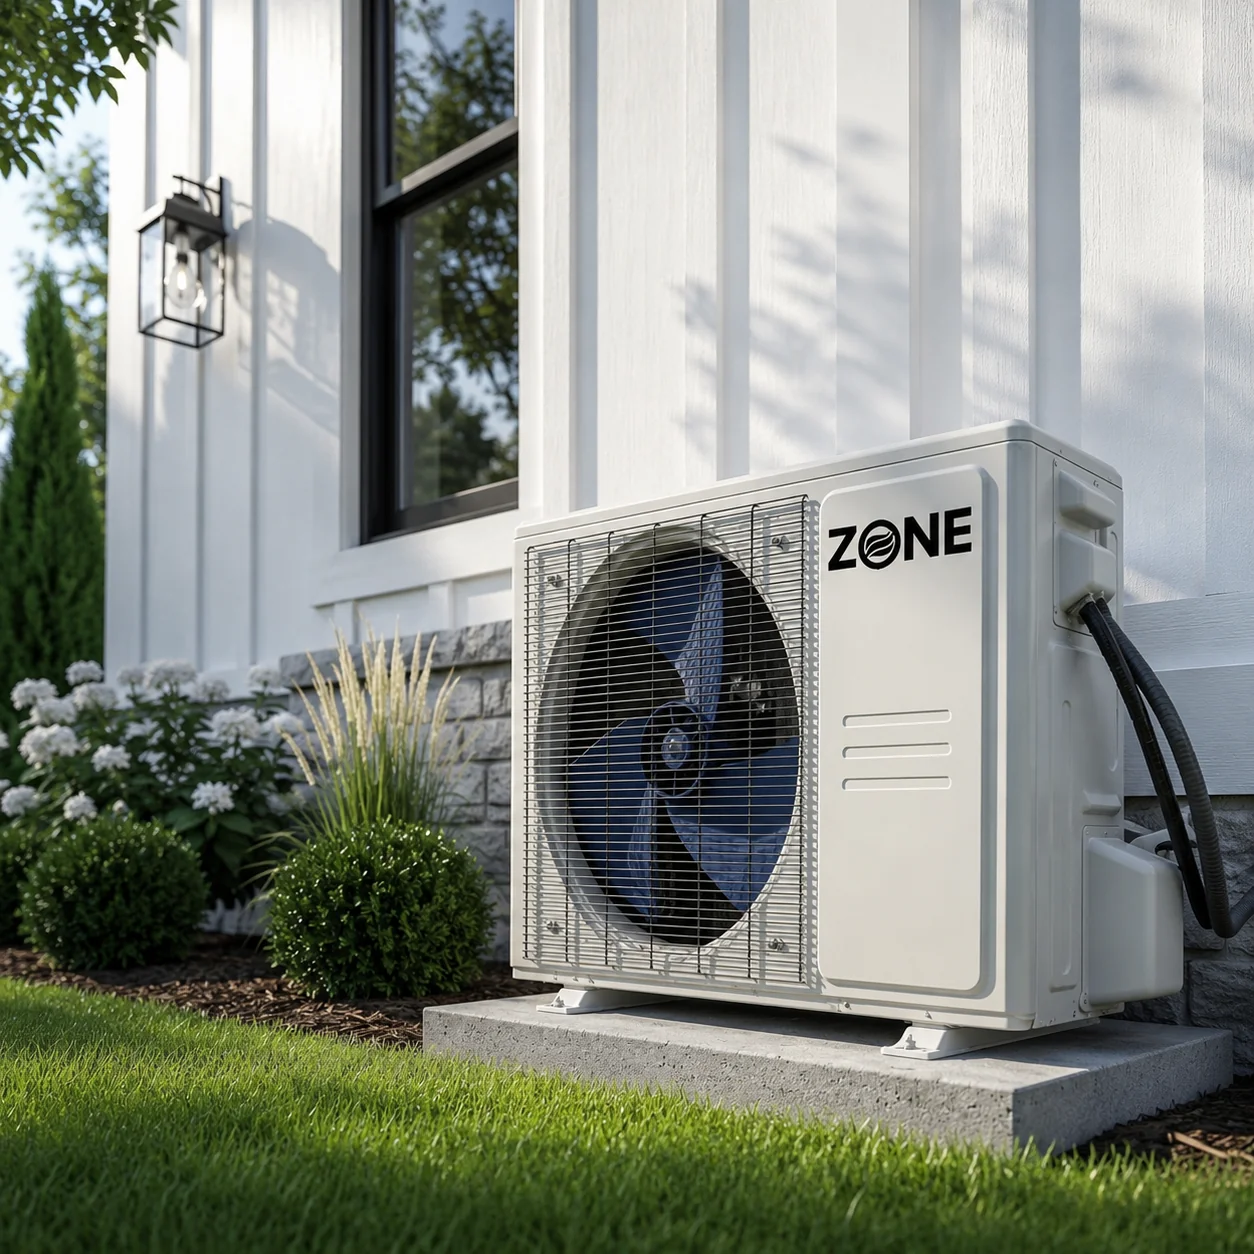
Yes, a "DIY" or "do it yourself" mini split can be a good option for many homeowners. But whether or not it is worth it for you is based on your use case and, importantly, the quality of the brand you choose. Our recommended DIY system for 2026 is the Zone Air DIY system, which is assembled, tested, and inspected in the USA and costs well under a contractor-installed premium brand like Mitsubishi. MRCOOL DIY is the main true-DIY alternative.
The Numbers
Are DIY Mini Splits Worth It?
Here's a quick side-by-side:
| Factor | Contractor-Installed | DIY Mini Split |
|---|---|---|
| Typical cost per zone | $4,000–$8,000 | $1,500–$3,000 |
| Installation time | Several days | A few hours |
| Vacuum pump / gauges needed | Yes | No (pre-charged line sets) |
| Warranty | Usually requires licensed install | DIY-first brands honor homeowner install |
| Skill required | None from homeowner | Moderate DIY + basic electrical |
DIY mini-split installation on average saves more than $3,000 compared to contractor install. As a concrete example, a MRCOOL unit costs roughly $3,000, whereas having a professional install a comparable system can run around $12,000. DIY mini splits avoid expensive ductwork, installation costs, and typical contractor system markups. Ductless mini split systems do not require ductwork, making them ideal for older home remodels and people interested in building their own homes.
Where DIY shines: a garage, shop, game room, home office, basement, sunroom, or any space in an older house without existing duct work. However, DIY units may not be the best for homeowners with little to no building or DIY experience.
Our pick this year, Zone Air, is a DIY-focused alternative to MRCOOL (the other true DIY brand) and to non-DIY brands like Pioneer and Senville on the budget end or Mitsubishi at the premium end.
A little more about DIY units: a true DIY system needs pre-charged line sets with quick connects — that's the spec that lets you skip the vacuum pump and refrigerant handling.
How It Works
How DIY Mini Split Systems Work (and What "DIY" Really Means)
A typical mini split system has an outdoor unit (sometimes called a condenser/compressor) connected via sealed copper refrigerant lines to one or more indoor air handler units (sometimes called evaporators) — no duct work required.
What makes a "DIY" mini split different from a standard mini split? DIY models come with pre-charged, quick-connect line sets that are factory sealed and pressurized. Pre-charged line sets eliminate the need for vacuuming before installation, so you don't need a vacuum pump, manifold gauges, or an EPA refrigerant license. MRCOOL DIY systems, for example, can be installed without specialized tools. Standard mini splits, by contrast, require a nitrogen purge, vacuuming, refrigerant charging, and nearly always a licensed HVAC tech.
Most DIY mini splits are single-zone systems sized between 9,000 and 36,000 BTU, covering roughly 250 to 1,500 square feet depending on insulation and climate. DIY mini-splits can be installed in just a few hours, compared to professional installation, which can take several days and cost thousands.
Every DIY mini split also functions as a heat pump. It can both cool in summer and heat in winter, with cold-climate models performing down to −13°F or lower.
Real-World Results
Pros and Cons: Are DIY Mini Splits Any Good in Real Life?
Results vary significantly by brand, install quality, and climate. Here's what actually matters.
Pros
Cons
Regarding brand reliability: Mitsubishi mini splits are regarded as the best in the market but require professional install. Zone Air and MRCOOL both offer 5-year parts and 7-year compressor coverage on DIY installations. Some Senville owners report quality concerns, though it remains a popular budget choice.
Fit Check
Key Factors That Decide If a DIY Mini Split Is Right for You
A DIY mini split is "good" only when matched correctly to your space, climate, and skill level.
Room Size and BTU Sizing
Use a BTU calculator as a starting point. General guidance by square footage:
| Room Size | Recommended BTU |
|---|---|
| ~250 sq ft | 9,000 BTU |
| 350–550 sq ft | 12,000 BTU |
| 600–800 sq ft | 18,000 BTU |
| 800–1,100 sq ft | 24,000 BTU |
Variables like ceiling height, insulation quality, window area, and floor plan all affect sizing. A Manual J load calculation is ideal, but a simple calculator is a fine first pass.
Climate and Heating Expectations
In cold regions (Minnesota, Maine, upstate New York), you want a cold-climate heat pump with tested performance at 5°F or −13°F. In milder areas like the Carolinas or Pacific Northwest, most high-efficiency DIY mini splits handle year-round comfort with ease.
DIY Skill Level
You'll need to drill a 2–3.5 inch hole through your walls, mount brackets into studs, run a condensate drain with proper slope, and connect the line set. Many DIY buyers handle the mechanical side themselves and hire a local electrician just for the final power connection — a smart security measure for both safety and home insurance.
Home Layout
A single-zone system makes perfect sense for a garage, detached shop, finished attic, or basement. For serving multiple rooms, consider a dual zone system or a mix of wall and ceiling cassette units. If you need to condition an entire 2,500+ sq ft house with many closed bedrooms, a conventional ducted system or a professionally installed multi-zone may be the cheaper and more efficient path.
Side by Side
DIY vs Pro Install: Cost, Performance, and Longevity
The "are they any good?" question is really asking whether DIY systems perform as well and last as long as professionally installed ones.
Cost Comparison: Typical 12,000 BTU Single-Zone System
| Item | Pro Install | DIY Install |
|---|---|---|
| Equipment | $2,000–$3,000 | $1,200–$2,000 |
| Labor | $2,500–$3,000 | $0 (your time) |
| Electrical / materials | Included | $300–$800 |
| Total | $4,500–$6,000 | $1,500–$2,800 |
Professional installation ensures compliance with permits and guarantees manufacturer warranties, which matters for some brands. But the price gap is real.
Performance
A quality DIY unit with similar SEER2 and HSPF2 ratings will cool and heat just as well as a professionally installed AC unit — if the line set is correctly connected, line length is within spec, and airflow is unobstructed. The compressor and inverter technology are identical regardless of who tightens the fittings.
Longevity
Mini splits can last about 10 to 15 years on average. Reliability hinges on manufacturing quality (brand choice), installer care (no kinked lines, properly torqued fittings), and environment. Some manufacturers may void warranties if the system is not installed by a licensed professional, so always check the fine print. DIY-first brands like Zone Air explicitly design warranty terms for homeowner installation.
The "quick connect leak" concern is real but evolving. Older models had issues; modern pre-charged fittings use double O-ring seals and are pressure tested at the factory. Watch YouTube videos of actual installations, read owner reviews at the 2–3 year mark, and look for systems with lines rated for 600+ PSI.
Buying Guide
Choosing a Good DIY Mini Split: What to Look For
Not all DIY mini splits on the market are equal. Choosing well matters more than the DIY label itself.
What to evaluate before you purchase:
Mini splits are a proven, energy-efficient technology. With a well-chosen system and a thoughtful installation, a DIY mini split can deliver the same comfort as many contractor-installed systems, for a lot less money.
Keep Reading
More Mini Split Guides
Best DIY Easy-Install Mini Split 2026
MRCOOL vs Pioneer vs Senville vs Zone Air — which brands are truly plug-and-play, and which still need a vacuum pump.
See the comparison →Best DIY Mini Split Brands 2026
The pre-charged DIY brands ranked head to head — install difficulty, efficiency, warranty, and support.
See the rankings →Complete Installation Guide
Sizing, tools, costs, and the full step-by-step process for installing a pre-charged mini split yourself.
Read the guide →Best DIY Heat Pump Mini Splits 2026
Top DIY heat pumps ranked on cold-climate heating, capacity retention, and true DIY install.
See the picks →