Buyer's Guide · 2026
Best DIY Mini Split Air Conditioner
A DIY mini split air conditioner is a ductless heat pump you can install yourself because the refrigerant lines arrive pre-charged and connect without a vacuum pump. We compared the main options on install difficulty, cold-climate heating, efficiency, and warranty terms for a homeowner install.
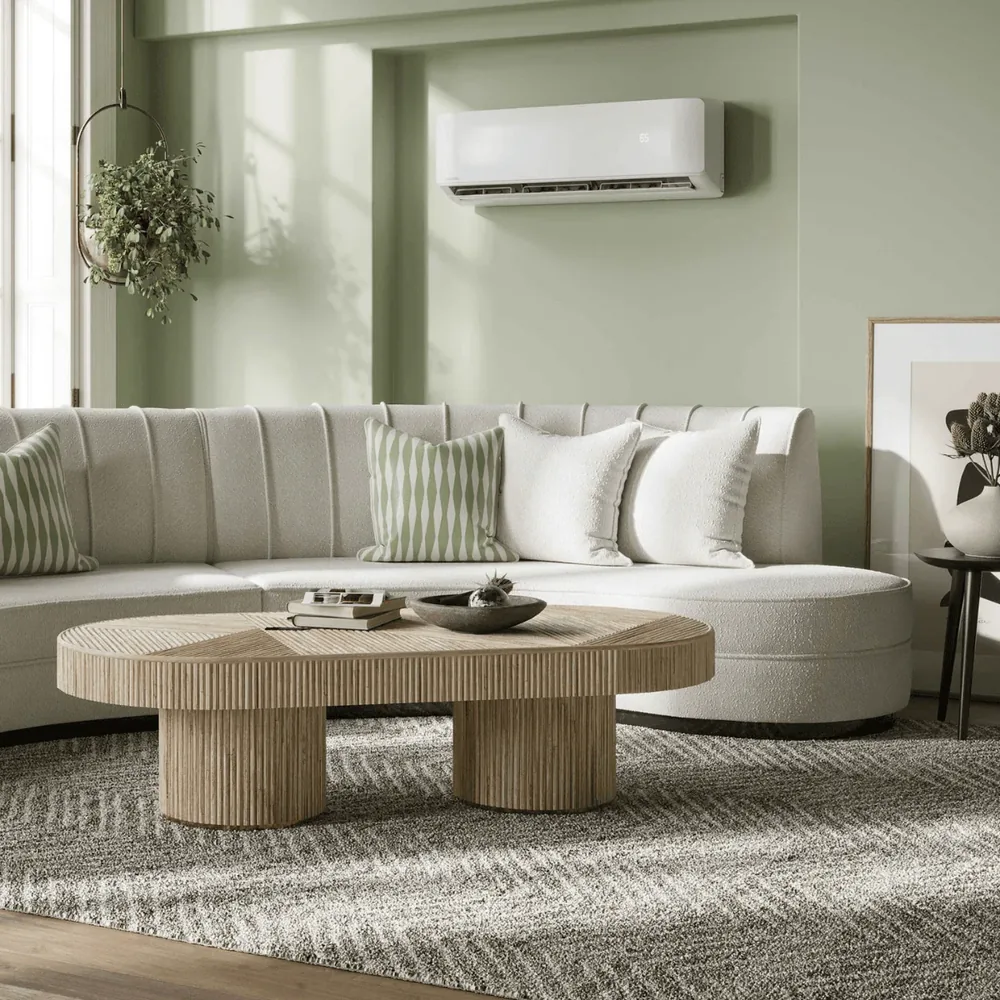
Our pick is the Zone Air DIY heat pump — pre-charged quick-connect line sets, up to 24 SEER2 efficiency, cold-climate heating to −13°F, prices from about $1,899, and a warranty that stays valid on a homeowner install. MRCOOL's DIY 5th Gen is the other true-DIY option (up to ~23.6 SEER2, pre-charged R-454B, 9K–36K sizes, Hyper Heat to −22°F), with budget flare-based picks like Pioneer and Senville for less demanding rooms.
Every system below uses pre-charged line sets, requires no vacuum pump, and is designed for a true DIY install without an EPA 608 license. We weighed install difficulty, measured efficiency (SEER2/HSPF2), cold-climate heating, warranty terms, and noise. No brand paid for placement.
At a Glance
Our Picks: Best DIY Mini Split Air Conditioners for 2026
| Pick | System | Coverage | Efficiency | Best For |
|---|---|---|---|---|
| Our Pick (True DIY) | Zone Air DIY Single-Zone (9K–18K) | 250–800 sq ft | Up to 24 SEER2 | First-time installers; warranty covers self-install |
| Best for Larger Rooms & Extreme Cold | MRCOOL DIY 5th Gen | 9K–36K sizes | Up to ~23.6 SEER2 | Sizes up to 36K; Hyper Heat to −22°F |
| Budget (Flare Install) | Pioneer | Model-dependent | ~22 SEER2 | Buyers who own or rent a vacuum pump |
| Budget Single-Zone Cooling | Senville LETO | Model-dependent | ~22 SEER2 | Low equipment cost; pro evacuation |
How to read this: only Zone Air and MRCOOL ship pre-charged quick-connect line sets that skip the vacuum pump entirely. Pioneer and Senville are cheaper but need flare connections evacuated before startup.
Head to Head
How the Top DIY Mini Split Air Conditioners Compare
| Brand (DIY model) | Install | Refrigerant | SEER2 (up to) | Cold-Climate | Price From | Best For |
|---|---|---|---|---|---|---|
| Zone Air DIY | Pre-charged quick-connect, no vacuum pump | R-454B | 24 SEER2 | Heats to −13°F | ~$1,899 (9K) | True DIY; US final assembly & testing |
| MRCOOL DIY 5th Gen | Pre-charged quick-connect, no vacuum pump | R-454B | 23.6 SEER2 | Operates to ~−13°F (Hyper Heat to −22°F) | ~$2,329 (9K) | Sizes up to 36K; Hyper Heat to −22°F |
| Pioneer | Flare line set (vacuum pump + EPA 608) | R-32 | ~22 SEER2 | Model-dependent | ~$900 | Budget; sometimes marketed as DIY-friendly |
| Senville LETO | Flare line set (vacuum pump needed) | R-410A | ~22 SEER2 | Model-dependent | ~$800 | Budget single-zone cooling |
Specs are manufacturer-published figures as of July 2026 and vary by model and BTU size; verify current listings and warranty terms before purchase. MRCOOL®, Pioneer®, and Senville® are trademarks of their respective owners; Best DIY Mini Split Brands is not affiliated with or endorsed by them.
Our Recommendation
Zone Air DIY Single-Zone Heat Pump
Our pick for a first-time homeowner install: pre-charged quick-connect line sets and a warranty that covers a self-install.
Trade-offs: it costs more than flare-fitting budget brands, it is sold direct rather than in stores, and its −13°F heating floor is short of MRCOOL's Hyper Heat models (−22°F).
Best for Larger Rooms & Extreme Cold
MRCOOL DIY 5th Gen
The other true-DIY option, with sizes up to 36,000 BTU and Hyper Heat models rated to −22°F.
Pioneer and Senville cost less up front, but both use flare line sets that need a vacuum pump, so they suit buyers who own HVAC tools or will hire that step out. For a deeper brand-by-brand comparison, see our best DIY mini split brands guide.
DIY mini splits can save homeowners roughly $3,000–$5,000 on installation versus hiring a contractor. For a single room, start with a 9K–12K pre-charged system from Zone Air or MRCOOL; for several rooms, look at a multi-zone kit.
Comparison
DIY Mini Split vs Traditional AC: Which Is Better?
Most mini splits are heat pumps that both cool and heat — which already sets them apart from window units and portable coolers that only cool.
A single DIY mini split replaces both a window unit and a space heater in one permanently installed, quiet, energy-efficient system. Key advantages over traditional options:
Modern DIY mini splits with pre-charged line sets are far more approachable than most people assume. For most single rooms, additions, or garages in 2026, a DIY mini split heat pump is a better long-term value than adding ducts or stacking multiple window units.
Before You Buy
Best DIY Mini Split: What to Look For
Before picking a brand, focus on matching the right system to your space and skill level.
Key decision factors
Installation-friendliness checklist
For indoor unit style, wall-mounted air handlers are the simplest and most common DIY option. A ceiling cassette works in finished spaces where wall space is limited, but it's better suited to advanced DIYers. Above all, prioritize brands that explicitly allow homeowner installation without voiding the warranty — choosing between a 12,000 and 18,000 BTU unit for a 450 sq ft room versus a 650 sq ft room comes down to matching capacity to square footage, not guessing.
Sizing
What Size Mini Split System Do You Need?
Correct sizing is the single most important step before ordering. Oversized units short-cycle and cause humidity problems; undersized units run nonstop, raising wear and energy bills.
| BTU Capacity | Approx. Coverage | Typical Use |
|---|---|---|
| 9,000 BTU | 250–400 sq ft | Small bedroom or office |
| 12,000 BTU (1 ton) | 350–550 sq ft | Mid-size bedroom or studio |
| 18,000 BTU (1.5 ton) | 550–800 sq ft | Bonus rooms, garages |
| 24,000 BTU (2 ton) | 800–1,100 sq ft | Large living rooms, small apartments |
These ranges assume typical 8 ft ceilings and average insulation; units are available up to 36,000 BTU for even bigger spaces. Factors that increase the required capacity include high ceilings, large west-facing windows, poor insulation, and very hot or very cold climates.
For single-zone setups, size the outdoor unit to one main room. For multi-zone, add up the capacities of all planned air handlers and confirm the outdoor condenser supports them. Use a brand sizing guide or contact the team for unusual rooms like detached garages or sunrooms — our installation guide walks through sizing in more depth.
Configuration
Single-Zone vs Multi-Zone DIY Mini Splits
A "zone" is simply one independently controlled area. Single-zone systems control one space; multi-zone systems manage several rooms independently.
Single-Zone Systems
One outdoor condenser connected to a single indoor air handler. Ideal for small spaces like bedrooms, garages, bonus rooms, or home offices — and the easiest DIY option, with fewer line sets, one wall penetration, and minimal wiring.
Multi-Zone Systems (2–6 zones)
One outdoor unit powers multiple indoor units across different rooms. A two-zone system uses two air handlers and one condenser; multi-zone setups can support up to six zones, letting you condition a whole floor or apartment from a single outdoor compressor.
At a glance: single-zone gives the lowest upfront cost, the simplest install, and the fewest wall penetrations. Multi-zone offers higher efficiency when replacing several window units and a shared outdoor footprint, but a more complex piping layout. Zone Air offers both, with matched pre-charged line sets for each port. If you expect to condition more rooms later, consider a multi-zone-ready outdoor unit from the start to avoid buying a second condenser down the line.
How It Works
How DIY Mini Split Installation Works
A high-level overview — always follow your specific installation manual. Most single-zone wall-mount projects take a first-time installer about 4–8 hours, depending on wall type and electrical readiness.
Place the Outdoor Unit
Set the condensing unit on a level pad or wall bracket with manufacturer-specified clearances on all sides, away from dryer vents and tight corners.
Mount the Indoor Bracket
Secure the air-handler bracket to an exterior-facing wall, checking for studs and using a level.
Drill the Penetration
Bore a 2.5–3.5 inch hole, angled slightly downward to the outside, for the line sets, condensate drain, and communication cable.
Run the Line Sets
Route the pre-charged lines from the outdoor unit to the indoor unit, avoiding kinks in the copper.
Connect the Fittings
Sealed, pre-charged quick-connect fittings need no vacuum pump, gauges, or pro install — hand-tighten, then torque to spec.
Wire the Electrical
Run a dedicated circuit from your panel, install a local disconnect, and connect the communication cable. Check local codes — consider a licensed electrician for this step.
Hang & Drain
Hang the indoor unit on its bracket and connect the drain line with a consistent downward slope.
Open & Test
Open the service valves to release refrigerant into the system, then power up and run both cooling and heating modes, checking for error codes or abnormal sounds.
With pre-charged line sets, you skip the vacuum pump, gauges, and refrigerant handling that non-DIY systems require during professional installation. For a full walkthrough, see our complete DIY mini split installation guide.
Key Features
What Makes a Mini Split Truly "DIY"
Not every mini split advertised as DIY is genuinely homeowner-friendly. Here's what separates a real DIY system from a contractor unit with a marketing label.
Must-have features
Support & design
Zone Air's warranty explicitly covers DIY installs, and MRCOOL's DIY 5th Gen warranty requires no registration. By contrast, Senville states that a DIY installation voids its warranty — always confirm the terms before you buy.
Efficiency
Understanding SEER2, HSPF2, and Efficiency Ratings
SEER2 is the updated Seasonal Energy Efficiency Ratio for cooling under newer DOE test conditions; HSPF2 measures heating performance for heat pumps. Higher numbers mean better efficiency.
A SEER2 of 20 is highly efficient, and DIY mini splits reach up to about 24 SEER2. Compare that to a typical window unit at 10–12 EER: switching to a 20+ SEER2 unit in a 500 sq ft room can save several hundred dollars a year in electricity alone.
For heating, look for HSPF2 around 10 (Region IV) — Zone Air's 12K is rated 10.0 and MRCOOL's DIY 5th Gen 12K about 10.2. Many models meet Energy Star criteria, which can qualify them for utility rebates. The federal 25C tax credit ended for equipment installed after December 31, 2025.
In mild climates, a mid-teens SEER2 rating may suffice. But in hot, humid states — or homes currently using electric-resistance or propane heat — moving to a 20–24 SEER2 heat pump dramatically cuts bills. Balance purchase price against efficiency: higher-efficiency models cost more upfront but pay back quickly through energy savings.
Indoor Units
Wall Mounts vs Ceiling Cassettes
Most DIY mini splits use wall-mounted air handlers, but some spaces benefit from a ceiling cassette.
Wall-Mounted Air Handlers
The easiest and fastest to install with basic tools — ideal for bedrooms, offices, and living rooms with available wall space. Maintenance is simple, too: the front panel opens for filter cleaning.
Ceiling Cassette Air Handlers
Mounted flush in the ceiling, distributing air in multiple directions with only a grille visible. They require access above the ceiling (attic or crawl space) and more advanced install skills.
Zone Air's DIY line focuses on homeowner-friendly wall-mount units, with select cassette options for experienced DIYers. For a first project, wall-mounted air handlers are the recommended starting point thanks to simpler line-set routing and condensate drainage.
Planning
Line Sets, Electrical, and Placement Tips
Careful planning before you drill a single hole saves hours of rework.
Line sets
Electrical
Placement & drainage
Cost & Savings
Cost, Rebates, and Long-Term Savings
DIY mini split hardware costs roughly $1,000–$3,500 depending on BTU capacity and efficiency tier; Zone Air single-zone systems run from about $1,899 (9K) to roughly $3,100 (18K).
Contractor-installed mini splits often land at $4,500–$8,000+ per zone in most U.S. markets, so the DIY route is where the savings come from.
Installation savings
Rebates & incentives
Replacing two 10 EER window units and an electric baseboard heater in a 500 sq ft room with a 20+ SEER2 mini split can save $400–$700 per year, combining cooling- and heating-season reductions. Total payback on a DIY system typically falls in the 3–5 year range depending on your climate, utility rates, and what you're replacing.
Common Questions
FAQs About DIY Mini Split Systems
Keep Reading
Related Guides
Best DIY Mini Split Brands
Compare Zone Air, MrCool, Pioneer, and Senville on efficiency, warranty, and install difficulty.
Read the guide →Installation Guide
Select, size, and install a pre-charged ductless mini split yourself — step by step.
Read the guide →Best Mini Split AC Units 2026
Our full ranking across all brands — best overall, best value, best DIY, and more.
Read the guide →